Check out the short walkthrough below to see Easy Send Digital in action.

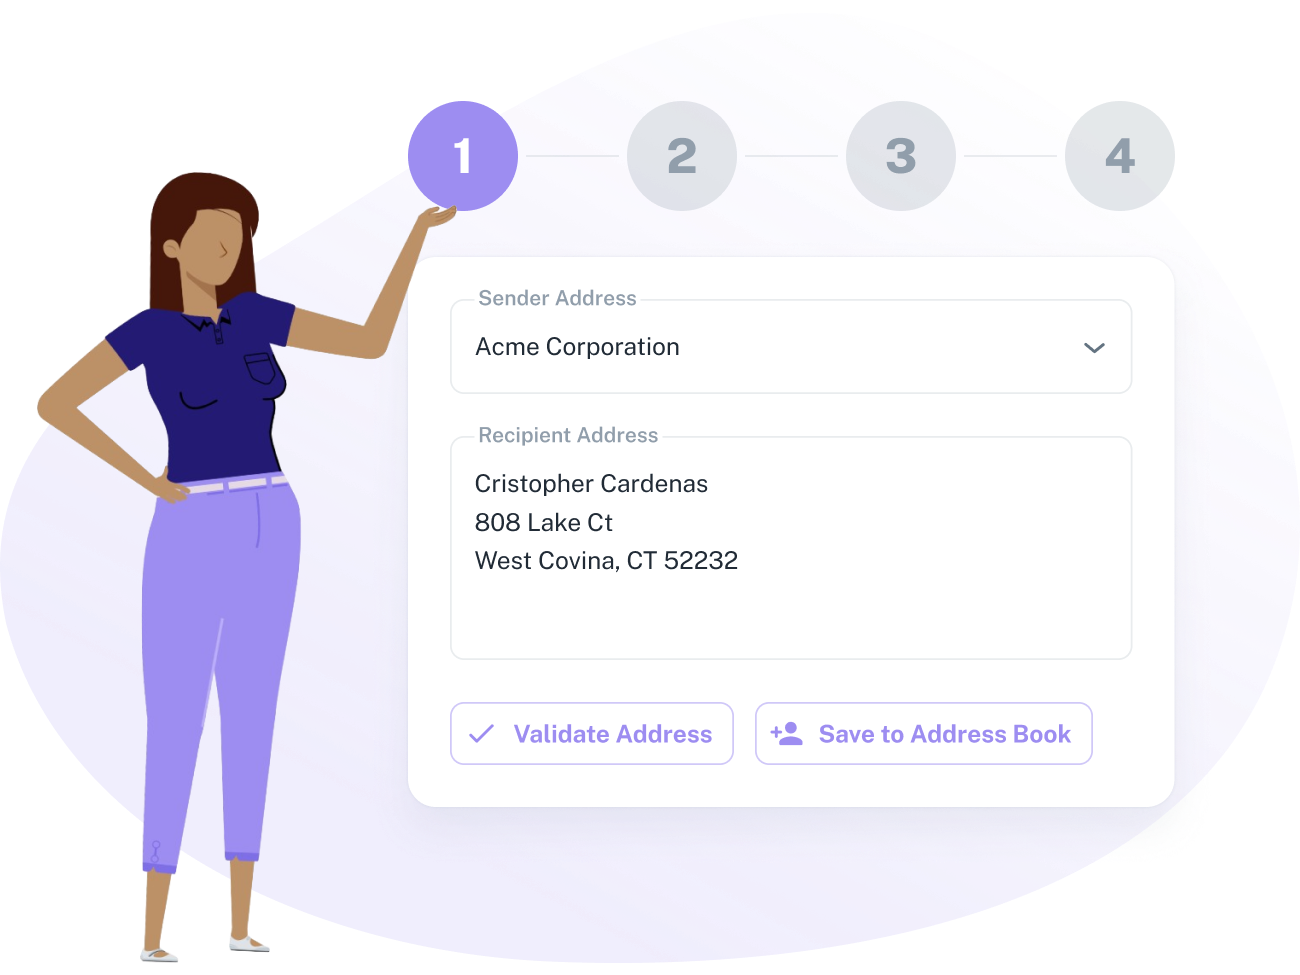
Easy Send offers a variety of methods for creating mail pieces, so you can choose the one that fits the needs of your workflow. Our web-based interface walks you through four simple steps for creating one piece at a time, or, you can automate the creation of an entire batch by connecting to our APIs or Easy Send Automate.


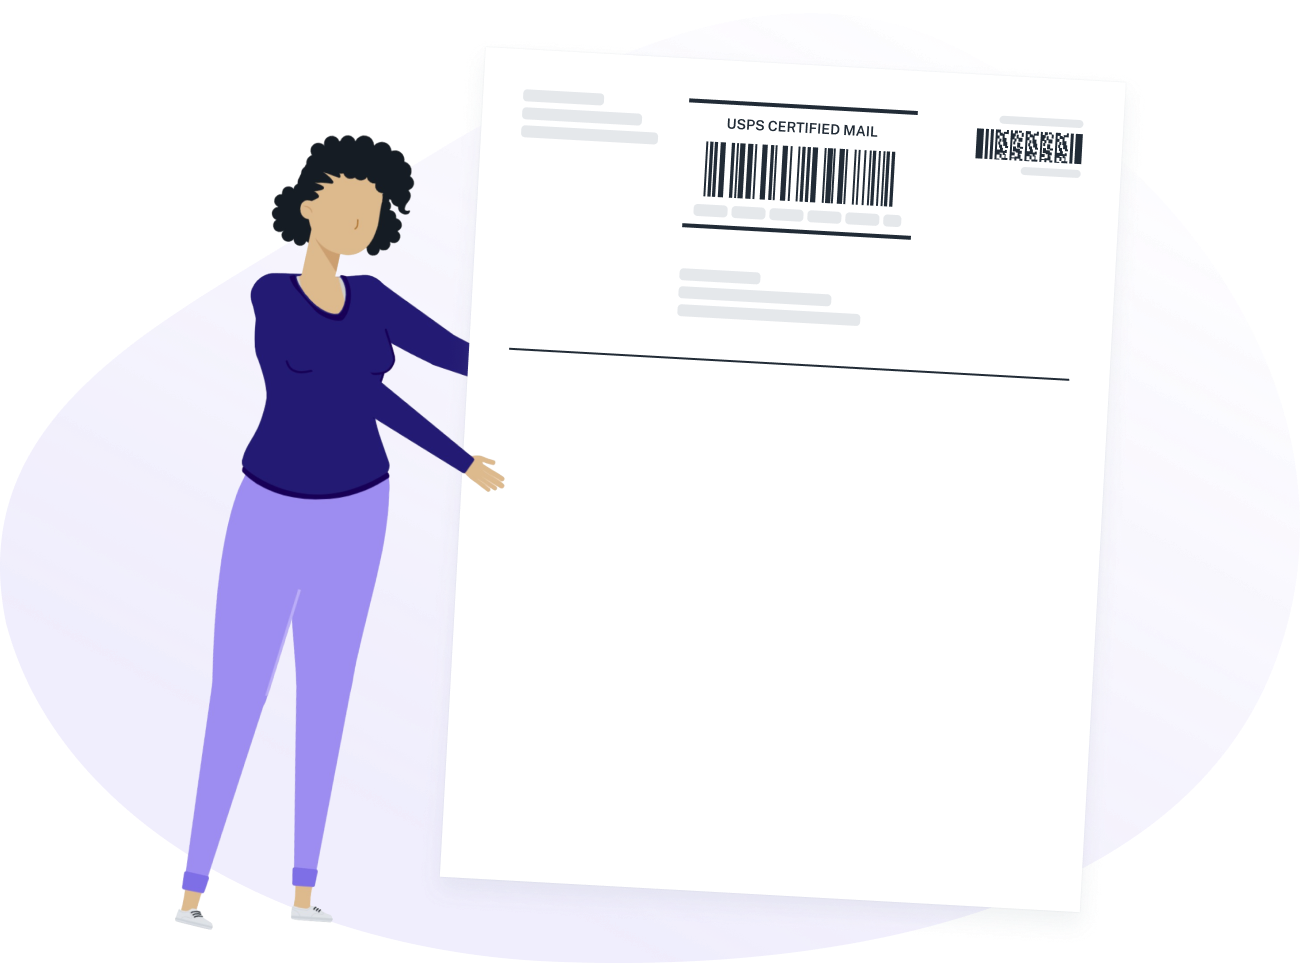
Preparing your piece for mailing is as easy as printing your cover page and adding it to the front of your window envelope for a professional looking delivery. If you need formal proof of acceptance from the USPS at the time of mailing, generate a completed Firm Mailing Book (3877) or SCAN Form (5630) for the pieces you’re ready to mail with just a few clicks.


The entire event history of your piece is stored and displayed in Easy Send for quick, easy access. Configure email notifications to be alerted of important events, such as when the USPS has accepted your piece or the proof of delivery becomes available.


Easy Send safely stores your full archive of electronic return receipts in your account, so they’re available to retrieve and download at any time. Finding a specific piece from the past is a breeze with simple search and filtering.
Easy Send can be used by pretty much anyone sending mail with Certified Mail or Certificate of Mailing. This includes organizations of any size sending their own mail as well as service providers sending mail on behalf of their customers.
Easy Send allows you to create First-Class mail with the following extra services: Certified Mail, Electronic Return Receipt, Resricted Delivery, and Certificate of Mailing. Easy Send also allows you to create pieces with Priority Mail.
There are four different ways you can create mail pieces with Easy Send. Depending on your volume and preferred workflow, you can choose the one that works best for you!
When sending certified mail, your envelope must include a green stripe on the top indicating to the USPS carrier that it’s a piece of certified mail. The envelope should also have a window on the front in order to display the cover page you print.
However, you do not have to buy envelopes from us. You are more than welcome to use your own supplier, or source them from wherever you like.
You can choose whether or not you want Easy Send to include electronic postage for your piece on the cover page. If you do want electronic postage included, you will pay by adding funds to your account. You can add funds via a credit card.
If you don’t want electronic postage included, you can apply postage yourself by metering the envelope or paying for postage at the post office as you normally would.